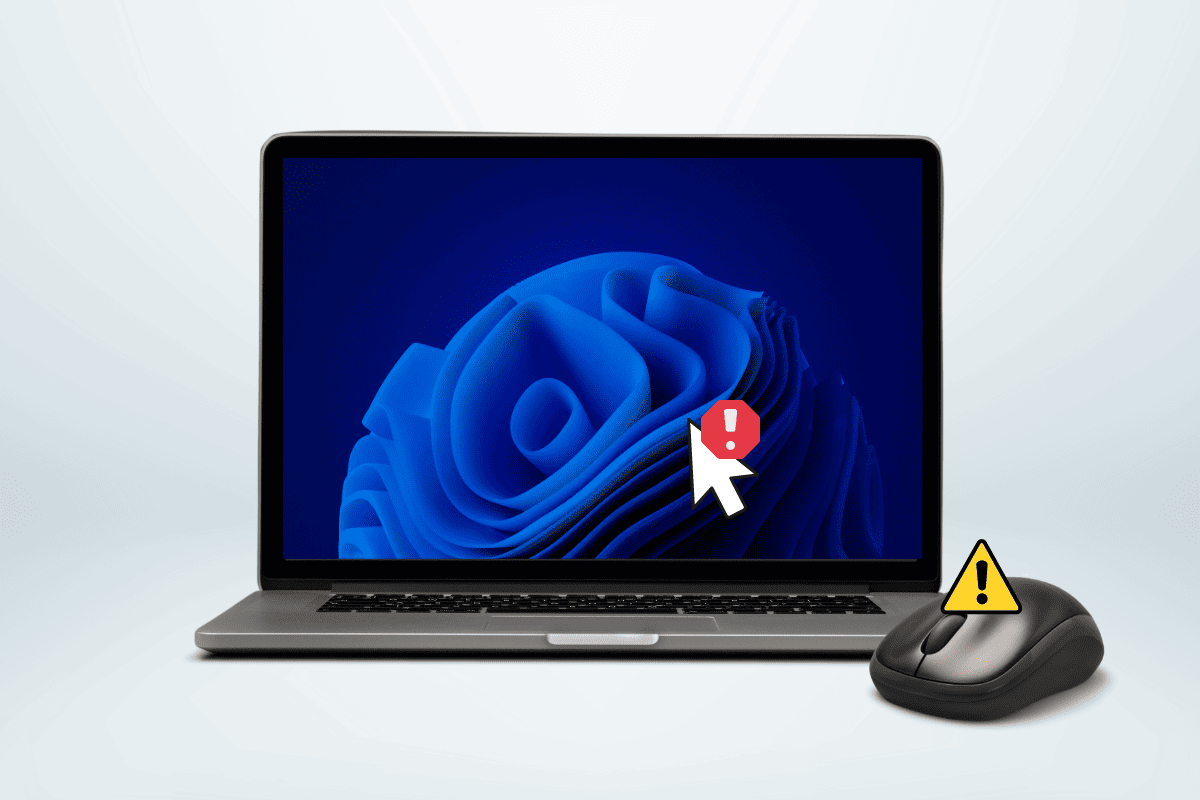
While a wireless mouse eliminates the struggle of tangled cords and offers freedom from restricted movement, it’s more prone to issues, especially because it requires a wireless connection.
Some common problems it faces are lags, frequent disconnection, unexpected double-clicks, or occasionally it doesn’t work at all.
Despite the convenience of being wire-free, these issues can disrupt our work life.
Well, don’t worry as in this guide, we will discuss the reasons why your external wireless mouse may not be working on Windows 11 and how to fix it effectively. So, let’s begin.
How to Fix Wireless Mouse Not Working Windows 11
Several reasons could be why the wireless mouse is not working properly, or just not at all on your PC, such as:
- Incorrectly inserted, and worn-out batteries
- Mouse power button is turned off
- Receiver for the wireless mouse is not plugged into the PC
- Some mouse models do not work properly on highly reflective surfaces, especially glass tables.
- Compatibility issues between the new mouse and OS
- Drivers for the mouse are not installed or are out of date
Quick Answer
Use the mouse on a different surface, such as a mouse pad or a smooth desk surface. If possible, connect the mouse to a different PC to determine if the problem lies with the mouse itself or the device it’s connected to.
Method 1: Change the Battery
Open the lid of the wireless mouse, check, and confirm if the battery is correctly inserted into the compartment and that no dirt is obstructing the connection.
If yes, replace the battery with a fresh one and test whether the mouse starts working again.
Method 2: Check for USB Port Issues
Wireless mouse works via a receiver connected to the USB port on the PC. If the Bluetooth mouse is not connecting to your Windows 11 PC, a defective USB port might be to blame.
- Now, to check this possibility, plug your mouse receiver into a different USB port than the one it was previously connected to.
- If the receiver was originally plugged into a USB port on the rear of your desktop, connect it to one of the ports on the front to ensure there’s no interference from the PC casing or other objects.
- You also need to fix the USB Controller Driver in case there are issues with it.
- Lastly, make sure that the receiver itself is not faulty.
Method 3: Rollback Driver Updates (Mice and Other Pointing Devices)
If you’ve recently updated the drivers for your wireless mouse, chances are that the update may be buggy which is why the mouse is not working on your Windows 11. Windows gives users the option to roll back the updates to the previous one.
Method 4: Update Driver (Mice and Other Pointing Devices)
If the previous method didn’t help or you haven’t updated the mouse driver earlier, it can be the cause. Outdated or corrupt drivers trigger functionality issues for the hardware. Ensure that your mouse driver is up to date.
1. Press the Windows + X key to launch the shortcut menu on your PC and then click on Device Manager to open it.
2. Double-click on Mice and other pointing devices to expand it, then right-click your wireless mouse and select Update Driver.
3. Select the Search automatically for drivers option and follow the on-screen options to update the driver.
Note: If you have the driver for your wireless mouse downloaded from the official website, select Browse my computer for drivers.
4. Restart the PC to save the changes.
Method 5: Disable Fast Startup
Fast Startup allows users to boot up their Windows quickly. However, it has drawbacks, and issues related to peripherals could be among them. So, let’s disable it.
1. Launch the Control Panel on your PC, click on Hardware and Sound, and then on Power Options.
2. On the left window pane select Choose what the power buttons do.
3. Click on Change settings that are currently unavailable, uncheck Turn on fast startup, and click on Save changes.
Method 6: Uninstall Recent Windows Updates
Although Microsoft regularly releases new updates for Windows intended to improve device security and introduce new features, occasionally, they may also contain bugs that can cause hardware-related issues.
If you’ve recently updated Windows 11 and believe that your wireless mouse has stopped working as a result, it’s necessary to uninstall the most recent update.
1. In the Control Panel, click on the Uninstall a program option under Programs.
2. In the left panel, click on View installed updates and then from the list of installed updates, click on Uninstall next to the latest one
Method 7: Repair System Files
Run an SFC scan on your Windows PC to scan and repair corrupt or missing system files that may be causing issues with the connected hardware accessories.
1. Open Command Prompt in Administrator mode from the Start menu.
2. In the Command prompt terminal, type sfc/scannow and press Enter.
3. Wait for the process to complete, and then Restart your computer.
How to Fix Bluetooth Mouse Not Connecting Windows 11
In case the Bluetooth mouse is lagging or not connecting to your computer, the following methods can fix the issue.
Method 1: Restart Bluetooth Support Services
Sometimes, a few essential Windows services help in working the wireless mouse on your PC, which in case are turned off, you may face several conflicts. Here’s how you restart them:
1. Press the Windows key to open the Start menu, search for Services, and press Enter to open it.
2. In the Services menu, find Bluetooth Support Service from the list and double-click on it.
3. In the Properties menu, select Stop, and after a minute, select Start to restart the service.
4. Click on Apply and OK to save the changes.
Method 2: Re-add Bluetooth Mouse
Temporary glitches associated with your Bluetooth device and your computer can be resolved easily.
Just turn off the Bluetooth and turn it on again after some time. If that does not help, follow the steps:
1. Open Settings on the PC, move to the Bluetooth & devices tab and click on View more devices.
2. Click on the three-dots icon next to your Bluetooth mouse and select Remove device.
3. Go back to the Bluetooth & device menu, click on the Add device option, and connect your mouse again.
Method 3: Run Bluetooth Troubleshooter
Windows 11 has a built-in troubleshooter that can fix many common problems arising from it. You can fix Bluetooth mouse issues on Windows 11 by running Bluetooth troubleshooter as instructed below.
1. Open Settings, move to the System tab and select Troubleshoot from the right pane.
2. Click on Other troubleshooters, scroll down, and then click on Run next to Bluetooth.
3. In the Get Help window, select Yes to confirm Do we have your consent to run automated diagnostics to try solving your Bluetooth problem?
Windows will start Detecting problems. If there are any problems detected then follow the on-screen instructions to fix them.
Method 4: Update Bluetooth Drivers
Outdated or incompatible Bluetooth driver could impact your PC Bluetooth service and also the connection between the mouse & its receiver. So, to update it:
1. Open the Device Manager and double-click on Bluetooth to expand the terminal.
2. Right-click on the receiver of the mouse and then click on Update driver.
3. Follow the on-screen instructiosn to update it.
How Do I Install a Wireless Mouse Driver on Windows 11
Typically, Windows should automatically recognize and support most mouse devices without requiring additional drivers.
However, certain models may present compatibility issues or require specific drivers for full functionality. So, here’s how you can install them:
1. Open the Device Manager and double-click on Mice and other pointing devices to expand the list of installed drivers.
2. Right-click on the problematic mouse and select Uninstall device.
3. In the confirmation window that pops up, ensure that the box next to Delete the driver software for this device is checked.
4. Click on Uninstall to proceed and then Restart your computer.
Upon startup, the system will automatically reinstall the mouse driver to your system.
How Do I Enable a Wireless Mouse on Windows 11
It’s a swift and easy process to connect a Wireless mouse with a receiver to your PC.
But, firstly, make sure that the mouse has batteries installed or is fully charged.
1. Plug the receiver into an available USB port on your computer.
2. Switch on your mouse and press the Connect button on it to initiate the connection process.
We hope our guide helped you resolve the issue of wireless mouse not working in Windows 11.