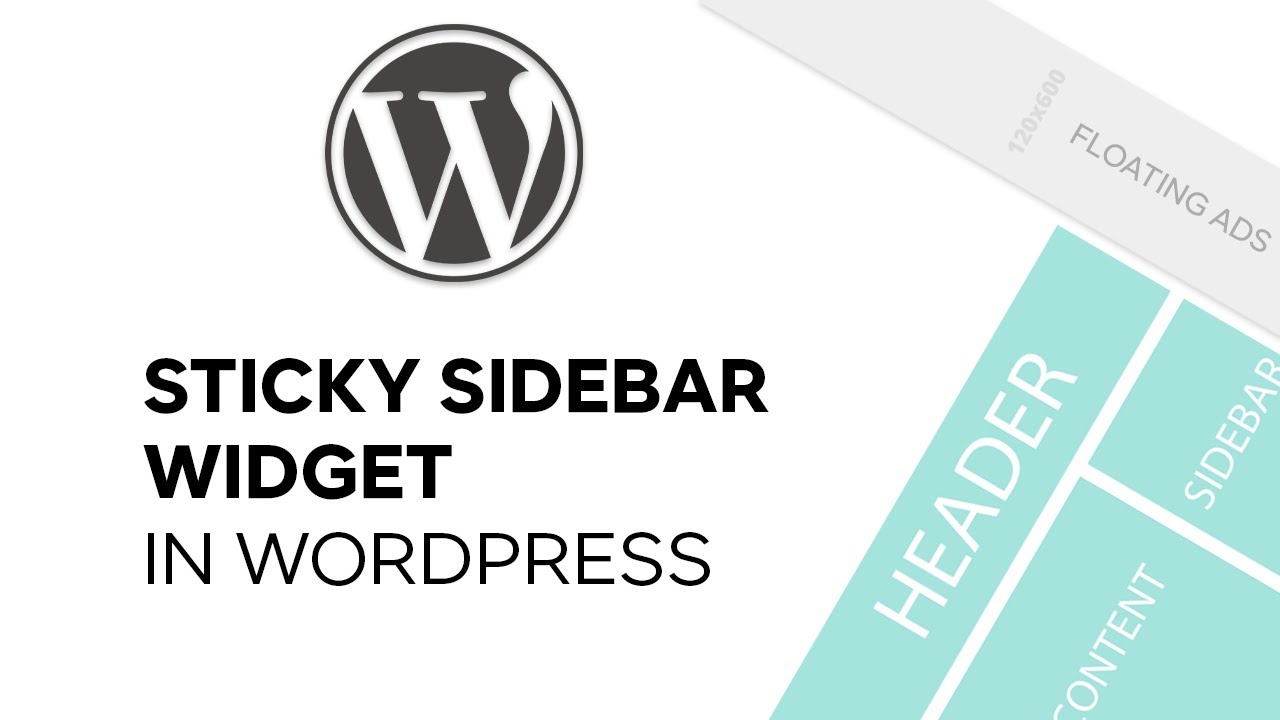
Floating sidebar is something which you see on most of the websites but today you are here to learn how to add a floating sidebar in WordPress blog. Floating sidebars are used in websites to grab the visitors attention and floating sidebar have a very high conversion rate if used with the Subscribe widget and some advertisement banner.
I am using the floating sidebar widget from a long time and I can assure of its result. Well, you can use this with any kind of widget not just with the advertisement banner. You can use it to promote your latest post, Ebook or images etc. Floating sidebar increase the visibility of whatever you want to promote to your visitors and it surely grabs attention.
Before moving any further I would like to tell you that sometimes using sidebar can really hamper your visitor’s retention rate because it messes with the overall experience of the visitor. So you should always use a plain and simple design widget when using with floating sidebar.
How to Add a Floating Sidebar in WordPress
Now if you want to add a floating sidebar in WordPress blog then you must install this plugin called Q2W3 Fixed Widget. To install it from your admin panel, go to Plugins > Add New then search the plugin. Install and Activate the plugin, so that you can start using it.
After activating the plugin, go to Appearance > Widgets and inside your sidebar click on the widget that you want to make sticky. Just check the little box near Fixed widget option then click save and you will have a nice floating sidebar, pretty easy stuff.
How to configure the Fixed Widget
Don’t get to excited because there is more to the Q2W3 Fixed Widget, go to Appearance > Fixed Widget Options to configure the plugin. On this page, you can set margin, disable the plugin for mobile devices and you can even create a custom HTML ID. Well, let’s get into the details of each one.
Margin Top should be set according to how much space you need between your floating sidebar and the top margin similarly Margin Bottom must be set according to your needs.
One thing I would like to share here is that Margin Bottom must be set so that it doesn’t overlap with your footer. Anway check different values and once you are satisfied with the result click to save.
If you want to disable the plugin for mobile devices just type the value of the screen width below which the plugin will disable in Disable Width and Diable Height. Note that both the values are necessary if you want to disable the plugin for a particular height & width.
Custom HTML IDs are also available if your footer height change page to page then to fix the overlapping issue you should use HTML tag id. Well, theme footer container has an id for example Twenty Twenty Four default theme’s footer container has an id=”colophon”. In the Custom HTML IDs, I need to enter just colophon, without any other symbols! And Floating sidebar will work perfectly.
I hope this article was helpful to you and you were successfully able to learn how to Add a Floating Sidebar in WordPress blog without any issues. If you still have any question regarding this guide please feel free to ask them in our email.